Create music dictation activities
Musical dictation is one of the most important exercises for training one's ear. It helps students develop the ability to identify sounds and rhythms. In this tutorial you will discover how you can easily create custom dictation activities using the Flat for Education music notation editor.
We will use the following features in this tutorial:
- Music notation editor
- Upload and sync an MP3 file with a score
- Template assignments with template lock
- Playback limitation
- Custom toolset
There are two main ways to create a dictation with Flat for Education:
- Using an actual performance recording, you can discover this in our first example below (melodic dictation);
- Creating the full score using Flat for Education, then using the playback sound of the complete score in your assignment template. For this, see the second example below (Rhythmic dictation).
Melodic dictation example
1. Create the template
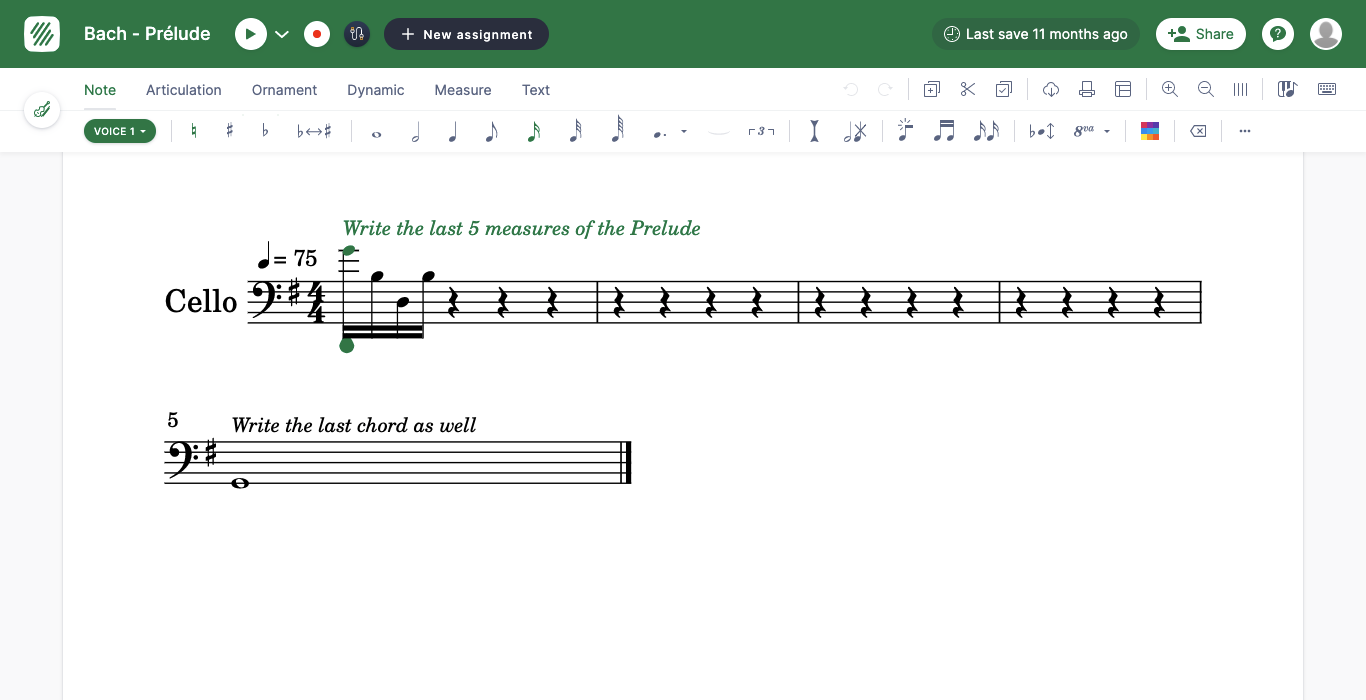
In this example, the students will complete the last 5 measures from an existing score (Bach's Cello Suite No. 1 in G Major, Prélude) and we will use a recording of the piece that we have saved as an MP3 file.
We start by creating a new score with one instrument (Cello), write the beginning of the measures to complete, add the extra empty measures, and give some inline instrutions using annotations. We now have the following score:
2. Link the audio recording
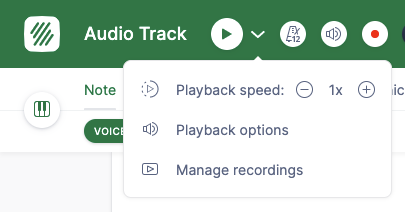
We can now add the audio recording to the score. Next to the play button, click on the arrow and choose Add recording:
Then choose the audio file to upload:
Once the file is uploaded, you can adjust the beginning and end of the audio track to match the played measures. You can also add additional sync points; check out our dedicated article to learn more about that.

3. Create the assignment
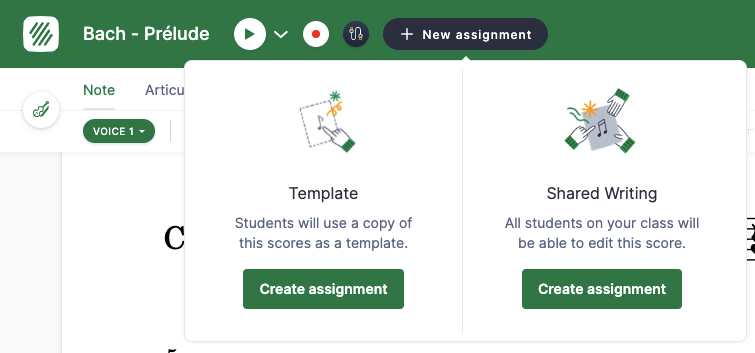
Now that your score is ready to use for the assignment, you can click on "New assignment" next to the title in the editor, and choose "Template".
We will focus on the following options available in the assignment creation page:
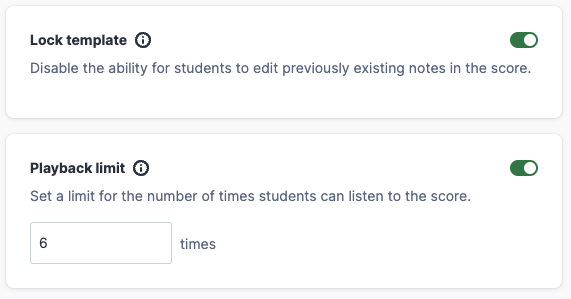
- Lock template: Students will not be able to change the notes you inserted in your original template.
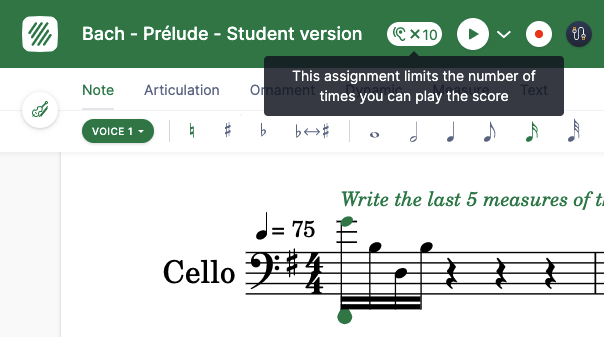
- Playback limit: We chose "10" here, so students will only be able to click on "Play" to listen to the audio track 10 times.
4. Student view
When a student opens the assignment, they will have the play limit displayed and the original locked notes displayed in dark blue:
Rhythmic dictation example
In this second example, we will create a rhythmic dictation example from zero, and use the generated MP3 from the editor playback to create an assignment template.
1. Create the completed score and audio
Start by creating a new score with one percussion part (Claves), and write the measures for our short activity:

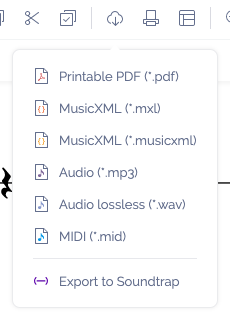
Once the template is done, export the audio as an MP3 file:
2. Remove the beats to be completed
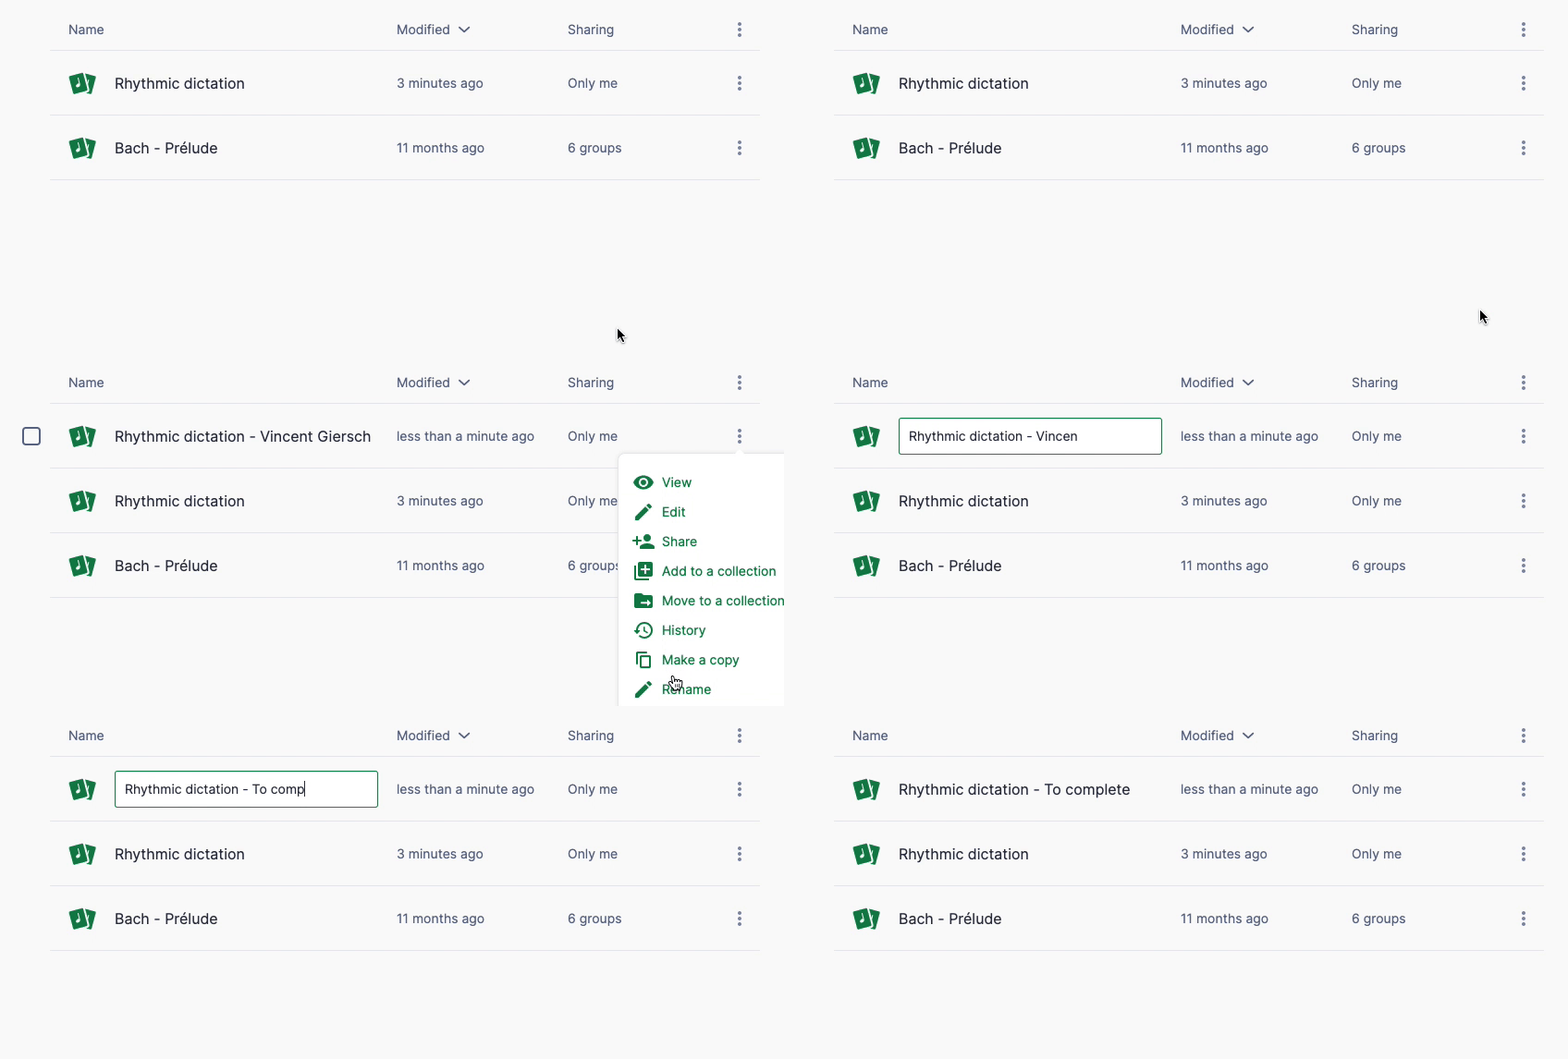
In your Scores library, make a copy of the completed score to create the empty version for your assignment:
On this score that will be used for your assignment template, remove the beats that your students will then re-insert:

3. Link the audio recording
You can now add the audio recording to complete the score. Next to the play button, click on the arrow and choose Add recording:

Then upload the previously generated audio file:
In this example, the audio will have the correct duration, so the track can be saved.
4. Create the assignment
Now that your score is ready to use for the assignment, you can click on "New assignment" next to the title in the editor, and choose "Template".

We will focus on the following options available in the assignment creation page:
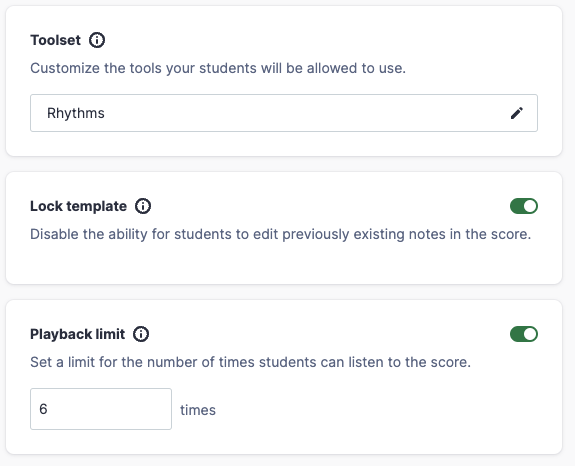
- Lock template: Students will not be able to change the notes you inserted in your original template.
- Playback limit: Choose "6" here, so students will only be able to click on "Play" to listen to the audio track 6 times.
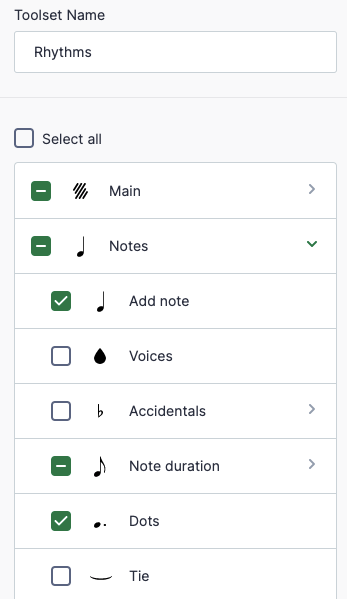
- Custom toolset: Create a new toolset for our rhythmic dictation exercise with some of the tools available in the main toolbar (undo, copy/paste) and some of the tools from the note toolbar (add note, change duration up to a sixteenth note, and dots). Once saved, you can re-use this toolset for other assignments.
5. Student view
Once a student opens the assignment, they will see the playback limit displayed, and only have access to the tools needed for the activity.

Video tutorial
The video below shows the different steps to follow to create dictation activities (starting at minute 2:10).