Setup a Microsoft Teams Class on Flat for Education
You will need a Flat for Education account to use this feature.
Adding a Microsoft Teams class on Flat for Education will automatically provision or update your students' accounts in your private Flat for Education website, then enroll them in your Flat for Education class. Once a course is synchronized on Flat for Education, future roster updates will be automatic - you don't have anything else to do!
1. Open the tab "Classes"
Once you are logged into Flat, click on the tab "Classes" on the left of your screen on any dashboard page.

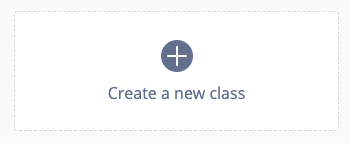
Then click on the button "Create a new class" in the center of your screen.

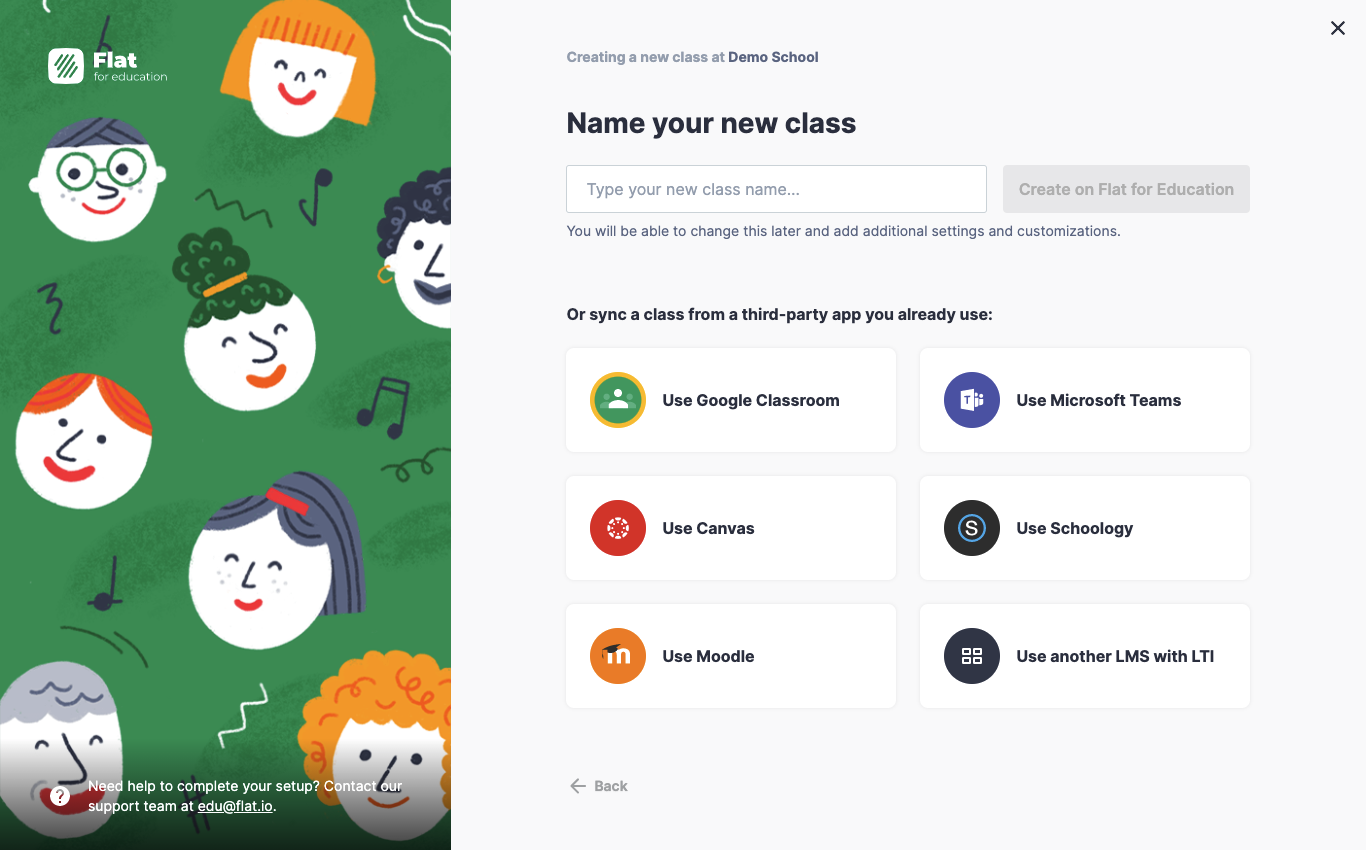
2. Choose "Use Microsoft Teams"
You don't need to enter a class name. Click on the button "Use Microsoft Teams".

3. Connect your Microsoft 365 account
If you didn't authorize Flat for Education to access your Microsoft Teams classes, you will be prompted to do so. If you are not an admin of your domain or don't have the permissions to add new apps, you will need to share this page with your Microsoft 365 admin.
4. Select one or multiple classes from your Microsoft Teams account
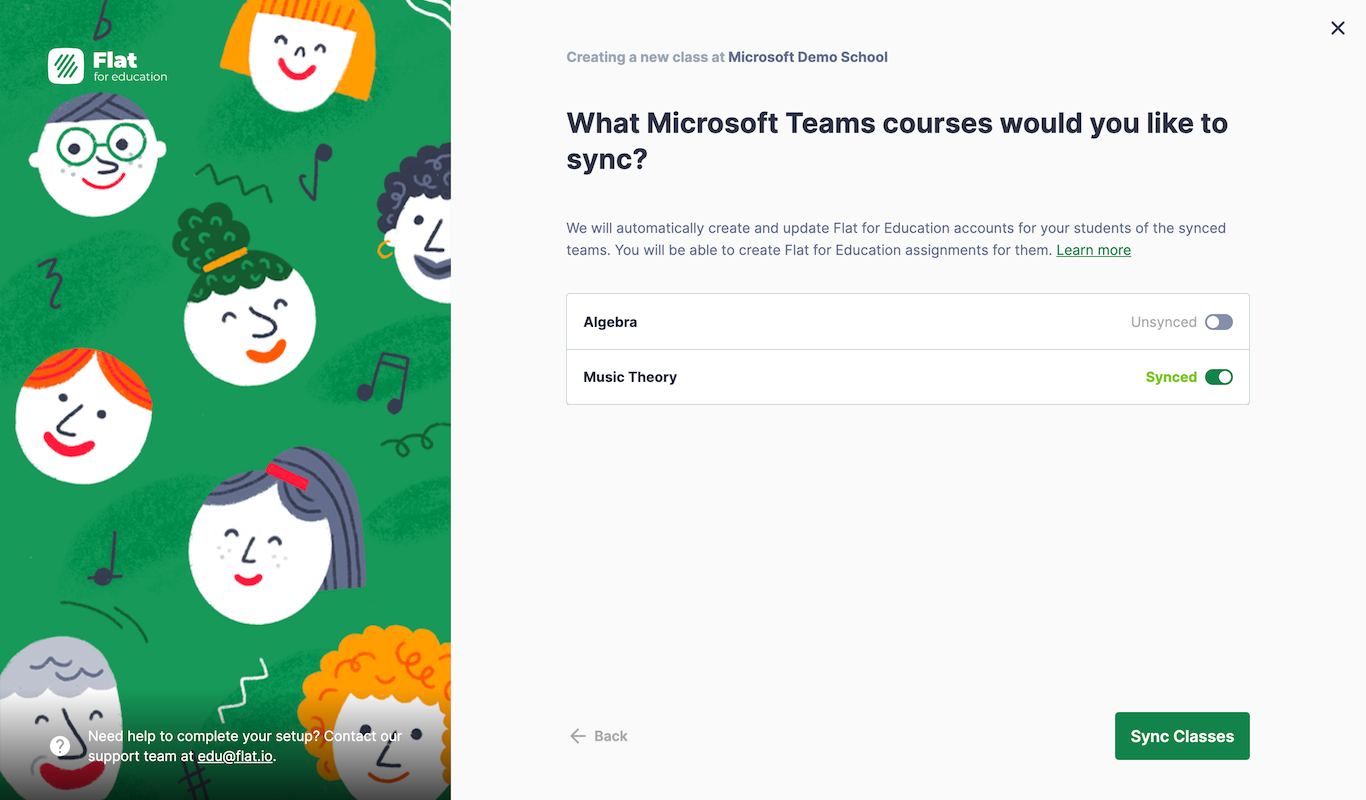
Once you have connected your Microsoft Teams account with Flat for Education, you will see your classes. Select the ones to create and sync on Flat.

Click on the button in the bottom right-hand corner to confirm.
5. That's it!
Your classes are synchronized with Microsoft Teams! You are all set to create your first assignment, share a music score and enjoy Flat with your students.
Once you are ready, share the link to your Flat for Education school website and your students will be able to sign in with their Microsoft accounts.
For more information on how to get started, check out the video tutorial.